Unlock the Secret to Fluffy Dairy-Free Coconut Whipped Cream
Imagine a cloud-like topping, rich yet dairy-free, perfectly sweet and airy, ready to elevate any dessert. If you’ve ever wondered how to make coconut whipped cream that truly rivals its dairy counterpart, you’re in the right place. This guide will take you through every essential step, from selecting the perfect can of coconut cream to achieving those dreamy, soft peaks, ensuring your homemade version is nothing short of spectacular. My first attempt at making coconut whipped cream was, to put it mildly, a learning experience. I had visions of luscious, stable peaks, but ended up with something closer to a slightly aerated soup. Yet, even in its imperfect state, the flavor was a revelation. It tasted delicious! Over the years, I've honed the technique, discovering the crucial nuances that transform a simple can of coconut cream into an extraordinary topping. Now, I'm ready to share those insights so you can avoid common pitfalls and create an effortlessly fluffy, dairy-free delight every single time.Why Coconut Whipped Cream is a Game-Changer
For anyone embracing a plant-based diet, managing dairy sensitivities, or simply looking for a lighter, refreshing alternative, coconut whipped cream is a culinary hero. It’s naturally vegan, relatively easy to prepare, and offers a subtle tropical sweetness that complements a vast array of desserts. Unlike some dairy-free alternatives that can be heavy or have an odd aftertaste, well-made coconut whipped cream is remarkably light, fluffy, and delivers a clean, satisfying finish. It's truly a versatile ingredient that can transform ordinary dishes into something special.The Foundation: Selecting the Right Coconut Product
The success of your coconut whipped cream hinges significantly on the quality of your primary ingredient. This isn't a situation where "any coconut milk will do."Here’s what to look for:
- Full-Fat Coconut Cream or Milk: Opt for full-fat varieties. The higher fat content is what allows it to whip up into a stable, fluffy texture. Low-fat or "light" versions simply won't yield the desired results.
- Minimal Additives: Check the ingredient list. The best cans contain only coconut and water, perhaps a stabilizer like guar gum. Avoid products with excessive emulsifiers or preservatives, which can sometimes interfere with whipping.
- The "Shake Test": A brilliant trick when at the grocery store is to gently shake the can. If it feels sloshy and liquidy, it means the cream and water haven't separated well, or it has a low fat content. If it feels solid and heavy, you’ve likely found a winner with a good, thick layer of cream at the top.
- Reputable Brands: Certain brands are known for their high-quality, high-fat coconut milk/cream that consistently performs well for whipping. Experiment to find your favorites, but often Thai or Indian brands tend to have higher fat content.
Remember, coconut cream is essentially the thick, solid part of full-fat coconut milk that rises to the top when chilled. If you can find cans labeled "coconut cream," they are often a shortcut to success as they contain a higher concentration of the whip-able solids from the start.
Your Essential Toolkit and Ingredients
Before you dive into whipping, gather your simple yet crucial tools and ingredients. This preparation ensures a smooth and efficient process.Equipment:
- A Can Opener: For obvious reasons!
- Mixing Bowl: A medium-sized metal or glass bowl is ideal.
- Electric Mixer: A stand mixer with a whisk attachment is the easiest option, but a hand mixer works perfectly well. If you're feeling energetic, a good old-fashioned handheld whisk can also get the job done, though it will require a significant arm workout!
- Spatula or Spoon: For scooping and tasting.
Ingredients:
- 1-2 Cans (13.5 oz / 400ml each) Full-Fat Coconut Cream or Milk: Chilled in the refrigerator for at least 12-24 hours. This chilling period is non-negotiable!
- 2-4 Tablespoons Powdered Sugar (Confectioners' Sugar): Powdered sugar is preferred because its fine texture dissolves easily, preventing a grainy result. You can adjust the quantity to your taste.
- 1 Teaspoon Pure Vanilla Extract: For that classic, comforting flavor.
- Optional Flavorings/Stabilizers: A dash of cinnamon, a pinch of citrus zest (lemon, lime, orange), a tablespoon of cocoa powder for a chocolate version, or 1/4 teaspoon of tapioca starch or arrowroot powder for extra stability.
Step-by-Step Guide: How to Make Fluffy Coconut Whipped Cream
- Chill to Perfection: This is arguably the most critical step. Place your can(s) of coconut cream in the refrigerator for at least 12-24 hours. Even better, pop your mixing bowl and whisk attachment (or hand mixer beaters) into the freezer for 10-15 minutes before you begin. Cold equipment helps maintain the cream's temperature, which is vital for achieving and holding a stable, voluminous whip.
- Isolate the Cream: Carefully open your chilled can of coconut cream. Without shaking it, gently spoon out the thick, solid cream from the top into your chilled mixing bowl. You’ll notice a clear liquid underneath – this is coconut water. Leave it behind; it won't whip. Save the coconut water for smoothies, curries, or other recipes. The goal is to get only the firm, fatty cream.
- Begin the Whip: With your electric mixer, start whipping the solid coconut cream on medium speed. At first, it might look clumpy, but as you continue, it will start to smooth out and lighten. After about 1 minute, you should see the mixture begin to fluff and resemble a soft, creamy texture.
- Sweeten and Flavor: Once the cream has started to lighten, add the powdered sugar and vanilla extract. This is also the perfect time to incorporate any other flavorings you desire, such as citrus zest, cinnamon, or cocoa powder.
- Master the Peaks (and Avoid Overmixing): Continue to beat the mixture for another 1-2 minutes. Watch closely as the cream transforms, becoming progressively lighter, airier, and smoother. Stop whipping once you see soft peaks forming – these are peaks that hold their shape but gently curl at the top. The moment it reaches this stage, turn off your mixer. Whipping for too long is a common pitfall; overmixing can break down the fat structure, leading to a grainy or even oily consistency.
- Taste, Adjust, and Enjoy: Give your freshly whipped cream a quick taste. If you prefer a bit more sweetness or a stronger vanilla presence, gently fold in a touch more powdered sugar or extract by hand. Be careful not to overmix at this stage. Your fluffy dairy-free coconut whipped cream is now ready to serve!
Expert Tips for Dairy-Free Whipped Cream Perfection
Even with a solid recipe, a few insider tips can elevate your coconut whipped cream from good to utterly phenomenal.- The Chill Factor is Paramount: I cannot stress this enough – a cold environment is your best friend. From the canned cream to your tools, maintaining a low temperature helps the fat globules solidify, allowing them to entrap air more effectively and create that desired fluffy texture. If your kitchen is warm, consider placing your mixing bowl over another bowl filled with ice water while whipping.
- Stabilizing Your Whip: If you find your whipped cream struggles with stability or tends to separate, especially if you plan to store it, a tiny bit of help can go a long way. After the initial whip, try adding 1/4 teaspoon of tapioca starch or arrowroot powder along with your sugar. These natural thickeners can help stabilize the structure without affecting the taste. For additional tips on achieving consistent fluffiness, explore Get Perfect Coconut Whipped Cream: Tips for a Fluffy Topping.
- Smart Storage & Re-whipping: For the best texture, serve your coconut whipped cream on the same day you make it. It can be stored in an airtight container in the refrigerator for 1-2 days. However, it may harden slightly or separate during storage. Don't despair! A quick re-whip with your electric mixer (sometimes adding a tiny splash of fresh coconut water or plant milk) can often revive it to its original fluffy glory.
- Embrace Flavor Twists: While vanilla is classic, don't be afraid to get creative!
- Citrusy Brightness: 1-2 teaspoons of lemon, lime, or orange zest for a vibrant lift.
- Warm Spices: A dash of cinnamon, nutmeg, or cardamom for a cozy feel.
- Chocolate Lover's Dream: 1-2 tablespoons of unsweetened cocoa powder for a rich, chocolatey whip.
- Minty Fresh: A few drops of peppermint extract for holiday treats.
- Espresso Kick: A teaspoon of instant espresso powder dissolved in a tiny bit of hot water, then cooled.
- Efficient Prep for Impromptu Desserts: Keep a can or two of full-fat coconut cream consistently chilling in your fridge. This simple habit means you're always ready to whip up a delicious, dairy-free topping whenever a dessert craving strikes or unexpected guests arrive. For more quick dessert ideas that pair perfectly with this topping, dive into Whip Up Easy 5-Minute Vegan Coconut Cream for Any Dessert.
Serving Suggestions & Culinary Inspiration
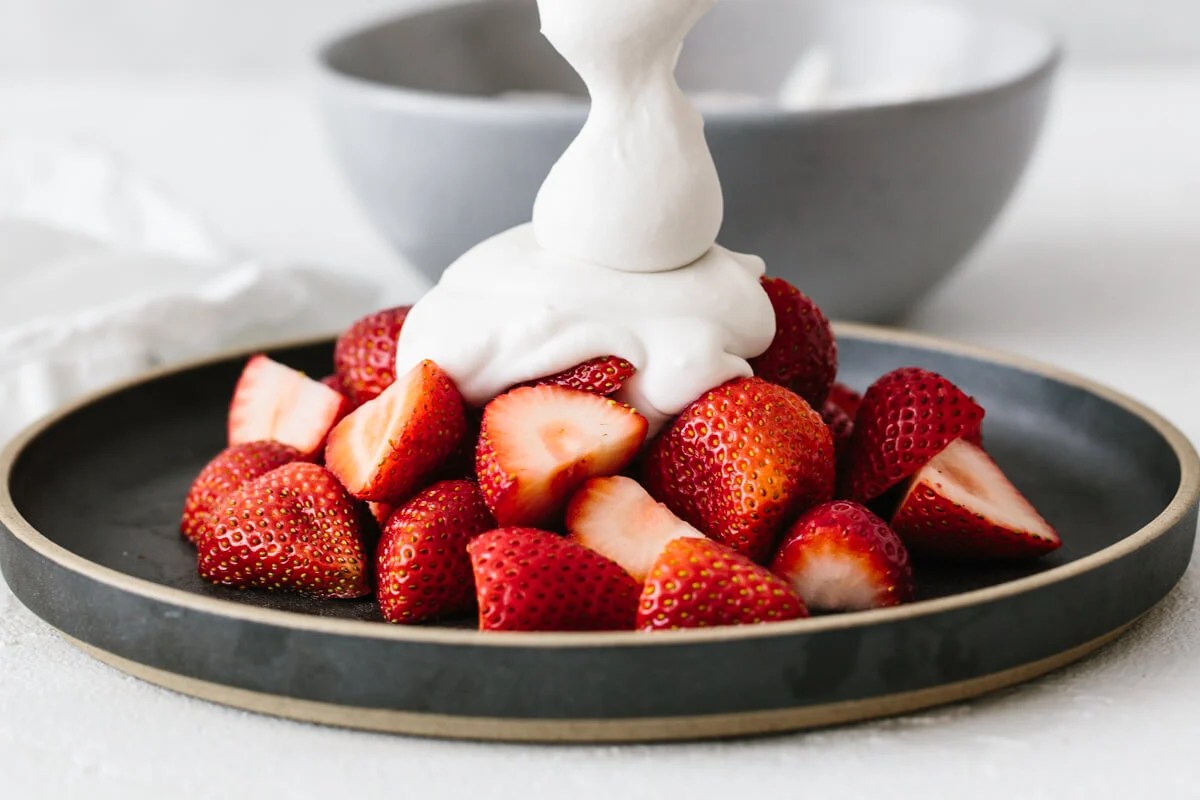
Once you’ve mastered how to make coconut whipped cream, the possibilities are endless. This versatile topping is perfect for:- Dolloping onto fresh berries or fruit salads.
- Garnishing pies, tarts, and cakes (especially chocolate or fruit-based ones).
- Swirling into hot cocoa, coffee, or iced lattes.
- Adding a creamy finish to smoothie bowls or parfaits.
- Serving alongside pancakes, waffles, or French toast for a decadent breakfast.
- Dipping fresh fruit, like strawberries or banana slices.
- Topping vegan puddings, like chia seed pudding or chocolate mousse.
